In both medical diagnostics and industrial Non-Destructive Testing (NDT), color accuracy is not merely an aesthetic preference; it is a critical diagnostic metric. Whether you are identifying subtle changes in tissue health or detecting signs of oxidation in complex mechanical pipes, the visual data must be precise. Setting the correct white balance on an
endoscope camera module ensures accurate differentiation between surfaces, preventing false positives that can lead to costly errors. Achieving this reliability requires a deep understanding of sensor behavior and lighting conditions. This guide covers the essential technical steps for baseline calibration, the differences between hardware and software processing, and the best practices for evaluating modules to ensure consistent color rendering under demanding operational constraints. By following these protocols, you can transform raw visual output into high-fidelity diagnostic evidence suitable for professional environments.
Key Takeaways
- Precise white balance calibration requires a controlled baseline using a standard white reference target (e.g., >95% reflectance) matched to the module’s specific illumination source.
- Hardware-level Image Signal Processor (ISP) calibration generally outperforms OS-level software correction in low-latency environments.
- The choice between standard and specialized hardware—such as LED endoscope camera modules or waterproof variants—dictates thermal stability and long-term color accuracy.
- Effective evaluation requires testing Auto White Balance (AWB) algorithms against high-glare, cavity-specific environments to identify algorithm failure points.
Why Accurate White Balance Defines Endoscopic Success
The primary business challenge in endoscopic imaging involves the catastrophic risk of color shifting. If an inspector misidentifies a small spot of corrosion as a shadow, the structural integrity of a component remains unverified. Similarly, in medical settings, misclassified tissue leads to diagnostic errors that affect patient outcomes. Success in this field relies on keeping Delta E values below 2, ensuring that the colors you see on screen match the reality of the subject. Lighting dependencies play a massive role in this equation. The color temperature of your integrated light source—typically measured in Kelvin—directly dictates how the sensor perceives the scene. Because every sensor reacts differently to specific wavelengths, you cannot rely on factory defaults. You must calibrate the sensor specifically for the light source in use. Without this targeted approach, the sensor will struggle to track color accurately as lighting conditions shift during an inspection.
Hardware ISP vs. Software-Level Color Correction
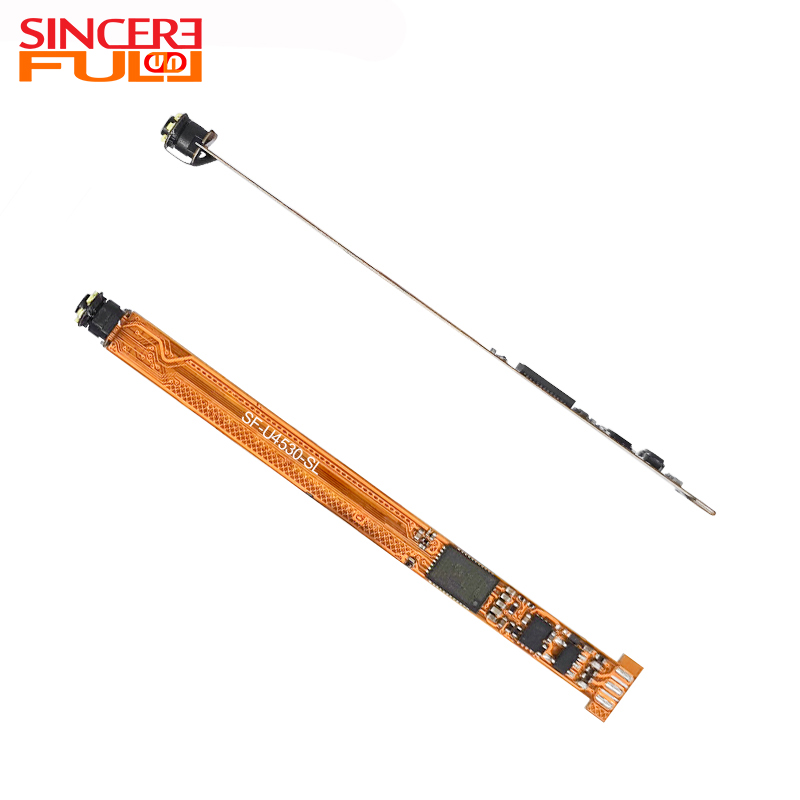
Engineers often choose between processing color directly on the board or offloading it to the host system. Hardware-level Image Signal Processor (ISP) calibration offers significant advantages for specialized applications. By processing color on the device, you achieve zero-latency performance and ensure the module operates independently of the host system. This is ideal for medical monitors or handheld inspection tools where lag is unacceptable. Conversely, many
USB endoscope camera modules rely on host-side calibration. In this setup, the camera sends raw or minimally processed data to a PC or single-board computer for adjustment. While this offers flexibility, it creates high CPU overhead. You may also face latency issues, which can be detrimental during real-time video feedback. When choosing your hardware, consider the following trade-offs:
Comparison of Calibration Strategies | Feature | Hardware ISP Calibration | Software Host-Side Calibration |
| Processing Latency | Minimal to Zero | Potential for Delay |
| System Resource Usage | Low (Integrated) | High (Requires CPU Cycles) |
| Consistency | High Stability | Variable (Depends on Driver/App) |
| Best Use Case | Medical/Surgical Tools | General NDT Inspection |
Step-by-Step Guide to Setting White Balance
Calibration is a methodical process. Follow these steps to ensure your imaging system produces true-to-life results. 1. **Environment and Lighting Standardization:** Power on your
LED endoscope camera modules. Let them run for at least two to five minutes to reach thermal equilibrium. Heat changes light output, so this step is non-negotiable. 2. **Securing a Reference Target:** Place a calibrated white balance card or a high-reflectance target at your working focal distance. Ensure the card fills the field of view completely to avoid light contamination from the surrounding area. 3. **Locking Exposure:** Disable Auto Exposure (AE) functions. If the brightness fluctuates during calibration, the algorithm will produce skewed results. 4. **Executing the Calibration:** Trigger the capture through your control software. Monitor the RGB histograms to ensure the channels align correctly at the neutral midpoint. 5. **Saving Configuration:** Save the resulting parameters directly to the module’s EEPROM. This ensures your settings persist even after you disconnect the device or power down.
Key Evaluation Dimensions for Color Stability
Evaluating the hardware is just as important as the software calibration. Start by examining the Bayer filter array on your sensor. Low-quality filters often fail to block infrared light effectively, which introduces unwanted red or magenta tones into your image. This is a common point of failure for cheaper sensors. Thermal color shift also presents a challenge during long operations. As the device heats up, the internal noise profile changes, and the color temperature of the LEDs may drift. If you are using a
waterproof USB endoscope camera module, remember that the lens housing acts as an optical layer. Coatings or glass thickness on these enclosures change how light enters the system, making a custom white balance profile mandatory for consistent performance.
Troubleshooting Common Implementation Risks
Even with the best setup, environmental factors can cause issues. Standard Auto White Balance (AWB) algorithms often struggle inside metallic or highly reflective pipes. The high glare levels confuse the logic, causing the software to overcompensate with odd color shifts. Use manual white balance locks or define a specific Region of Interest (ROI) to focus the algorithm on a neutral area. Monitor your LEDs for signs of degradation. As lighting elements age, their spectral output changes, often shifting toward the blue end of the spectrum. You should implement a recurring calibration schedule to account for these changes. Do not mistake signal issues for color shifts. If your
USB endoscope camera modules experience frame drops, check your cabling. However, remember that cable length does not cause color shifts; these are strictly image processing or lighting phenomena.
Shortlisting Logic and Next-Step Actions
When you are ready to procure equipment, define your constraints first. Do you need a system that adapts to changing environments, or will your lighting remain fixed? If your environment is static, prioritize modules that allow for one-push white balance. Establish a prototype testing protocol. Request modules that grant you low-level access to the internal ISP registers. This control allows you to fine-tune the calibration process beyond what the standard drivers provide. Finally, always vet your vendors. Ask for documentation regarding their LED binning process, as consistent light output is the bedrock of reliable color rendering.
Conclusion
Reliability in endoscopy begins with a rock-solid baseline. You cannot expect high-quality diagnostic results if you rely solely on factory default settings. By implementing a standardized verification process, you eliminate guesswork and ensure your data remains actionable. Moving forward, make it a standard quality assurance practice to calibrate before every critical session. This disciplined approach minimizes failures and ensures that every image provides the clarity required for accurate assessment.
FAQ
Q: Can I rely on Auto White Balance (AWB) for endoscopic inspections?
A: Generally, no. Confined, monochromatic, or highly reflective spaces often confuse standard AWB algorithms. One-push manual calibration is the industry standard for ensuring color accuracy in professional settings.
Q: Does the lens cover on a waterproof USB endoscope camera module affect white balance?
A: Yes. Material properties like thickness and the quality of anti-reflective coatings alter light spectrum transmission. You must set the white balance with the final lens enclosure in place to achieve an accurate profile.
Q: How often should an endoscope camera module be recalibrated?
A: It depends on usage and thermal cycling. For critical medical or industrial diagnostics, perform a quick white-card verification before each use. For routine monitoring, a quarterly recalibration is usually sufficient.
Q: Why does my endoscope image look too red or magenta?
A: This is usually caused by inadequate IR-cut filtration on the sensor, allowing infrared light to contaminate the image. Alternatively, your white balance matrix may be overcompensating for a cool-toned LED light source.


